


Wall Sconce Installation Reference · Hallway Planning
Hallway sconces are often planned with a number first: every six feet, every eight feet, or one between each door. That is usually too simple. A hallway is a sequence of wall segments, openings, sightlines, and walking paths, and the spacing that looks calm in one corridor can feel crowded or leave dark gaps in another.
Do not start by choosing one universal spacing number. First map every uninterrupted wall section, door, corner, artwork zone, switch, and opening. Then place full-size fixture silhouettes where they create a readable rhythm from the hallway entrance. Only after that should you check whether the selected fixtures provide enough light for the job they are expected to do.
If sconces are decorative and ceiling lighting already carries the corridor, visual rhythm can lead. If the sconces are expected to provide the primary hallway illumination, actual output, distribution, overlap, and local requirements need to be reviewed for the exact fixture rather than inferred from a generic spacing chart.
Why hallway sconce spacing is not one fixed number
Search results are full of rules of thumb. Some guides suggest starting around six to eight feet apart, others eight to ten feet, and some move the number again for narrow corridors or high ceilings. Those ranges can be useful as rough references, but they are not a design guarantee. The variation itself tells you the important part: spacing depends on the fixture and the hallway, not on one universal formula.
Two wall sconces can share the same overall height and still behave very differently. One may use a broad frosted shade that sends soft light into the room. Another may be a small clear-glass decorative piece whose light is visually concentrated around the fixture. A third may be primarily sculptural, intended to add wall brightness while recessed or ceiling lighting handles circulation. If the role changes, the spacing logic changes with it.
The hallway architecture matters just as much. A twenty-foot corridor with one long uninterrupted wall is not the same as a twenty-foot corridor broken by four bedroom doors, a closet, a return vent, and an opening into another room. Measuring only the total corridor length hides the actual places where a sconce can credibly live.
Start with the wall segments, not the hallway length
Before you decide how many fixtures to buy, draw the hallway as a simple elevation. Mark every doorway, corner, window, trim break, thermostat, switch, artwork location, console, return vent, and existing electrical point. Then divide the corridor into uninterrupted wall segments.
This step is more valuable than choosing a spacing number because wall sconces are read against architecture. A fixture centered on a clean wall segment can feel intentional even if the distance to the next fixture is not mathematically identical. By contrast, a perfectly repeated eight-foot interval can look awkward when one light lands too close to a door casing and the next floats beside an opening.
Long, quiet wall
When one side of the hallway is mostly uninterrupted, a repeated sequence can work well. Build the rhythm around the wall length, fixture width, and what you see from the entrance.
Door-heavy corridor
When the walls are fragmented by doors and openings, treat each usable section as its own zone. Architectural alignment often matters more than forcing equal spacing.

Decide what job the sconces are doing
The strongest hallway plan begins by naming the lighting role. The phrase “hallway wall sconces” can describe three very different jobs: decorative rhythm, layered ambient light, or primary circulation lighting. Trying to use one spacing rule for all three is where many layouts go wrong.
Decorative rhythm
If ceiling lights already provide the needed brightness, the sconces can be treated more like architectural punctuation. In that case, the sequence should respond to doors, artwork, long walls, and the view down the corridor. You can allow more variation between bright and dim wall areas because the sconces are not responsible for lighting the floor by themselves.
Layered ambient light
If the sconces are meant to soften a dark corridor and reduce reliance on a harsh ceiling-only look, then light spread matters more. You want adjacent fixtures to feel connected rather than like isolated bright dots. The exact overlap depends on shade material, lamp position, output, wall color, and mounting height, so the actual product information should guide the final check.
Primary hallway lighting
If wall sconces are expected to carry most of the corridor illumination, visual spacing is not enough. The design needs to account for the fixture's actual light distribution, total output, hallway width, surface reflectance, and any applicable code or emergency-lighting requirements. Do not assume that a decorative wall light can simply be repeated at a familiar interval and become general lighting.
Mounting height and spacing have to be judged together
Many homeowners search for “how high should hallway sconces be” and “how far apart should hallway sconces be” as if they are separate questions. In reality, height changes how each fixture is experienced from both ends of the corridor and can also change the apparent overlap of light on the wall and floor.
A useful starting approach is to establish a consistent visual line first. Tape the full fixture shape onto the wall and view it from the beginning of the hallway, from the opposite end, and while walking past it. The center point that looks balanced when standing directly in front of the fixture may feel too low beside a tall door or too high when the corridor ceiling is modest.
Do not let a generic “eye level” number override the actual fixture. A tall vertical sconce with most of its luminous area above the backplate center is not equivalent to a compact globe centered on that same box location. The full silhouette and the visible light source matter.
Projection is a buying decision, not an afterthought
Hallways are circulation spaces, so projection from the wall can matter more here than in a living room. A deep decorative sconce may look beautiful in a front-facing product photo but feel intrusive in a narrow passage. Before ordering, check the listed depth of the exact fixture and mock that distance out from the wall with cardboard or painter's tape.
Then walk the corridor naturally. Open nearby doors. Carry a laundry basket. Think about children, guests, and anyone moving through the space at night. If the fixture sits close to a door swing, shoulder path, or narrow pinch point, its projection may be more important than its spacing.

A practical five-step spacing method
1. Measure every usable wall section
Record hallway length and width, but also measure each uninterrupted wall segment. That means the clear wall between two doors, the section after a corner, and the wall at the end of the corridor. These are the real design zones.
2. Mark the visual anchors
Identify what a person sees first: the hallway entrance, a door at the far end, a piece of art, a stair opening, or a console. Decide whether the sconces should guide the eye toward that anchor, frame it, or simply support the route.
3. Place full-size fixture silhouettes
Use the exact listed width and height of the product option you plan to buy. Paper templates are more reliable than judging scale from a phone screen. If dimensions are missing or inconsistent, stop and verify them before ordering. WREA's Size & Installation Guide is the appropriate planning reference for organizing measurements.
4. Walk the hallway from both directions
Do not evaluate the layout only while facing one fixture. A repeated sconce sequence is experienced in perspective. From one end, a slight difference in spacing may disappear. From the other, a fixture that is too close to a door frame can become the first thing you notice.
5. Check the light duty before finalizing quantity
If the sconces are decorative, the mock-up may be enough to decide quantity. If they are expected to provide meaningful general light, confirm the actual source, shade, output, distribution, and local requirements for the exact fixture. Generic online spacing ranges cannot replace a real lighting check.
| Hallway condition | What should lead the decision | What to avoid |
|---|---|---|
| Long uninterrupted wall | Repeated visual rhythm, fixture width, view from corridor entrance. | Choosing quantity only from total hallway length. |
| Many doors/openings | Usable wall segments and alignment with architecture. | Forcing mathematically equal intervals into broken walls. |
| Narrow corridor | Projection, glare, walking path, and fixture scale. | Buying deep sconces from front-view photos alone. |
| Dark hallway | Actual light distribution and interaction with ceiling lighting. | Assuming more fixtures automatically solve poor distribution. |
| Artwork/console wall | Composition first, then electrical and light checks. | Letting a generic spacing rule ignore the focal point. |
How many hallway sconces do you need?
There is no responsible answer without the corridor dimensions, usable wall lengths, and the exact fixture. A search result that turns hallway length into a fixed number of sconces can be a quick sketching shortcut, but it cannot account for doors, fixture size, projection, or light distribution.
Instead, start with the minimum number needed to create a coherent sequence, then test whether the wall feels too empty or too busy. In a short corridor, two well-positioned fixtures can feel calmer than three squeezed into broken wall sections. In a long gallery-like hallway, a longer sequence may be appropriate, but the final quantity still depends on the spacing between usable architectural zones and what the sconces are supposed to illuminate.
Do both sides of the hallway need matching sconces?
No. Symmetry can work in a wide, formal corridor with enough wall area on both sides, but many residential hallways have doors, closets, and openings that make bilateral symmetry impossible. Installing lights on one clean side can look more deliberate than forcing pairs around interruptions.
If you use one side only, look at the corridor from both directions and make sure the sequence still reads as intentional. The goal is not to “fill empty walls.” It is to create a legible path and a balanced visual rhythm.
Spacing around doors, artwork, and corners
These are the places where fixed spacing rules break down fastest. A sconce too close to door trim can feel cramped. One placed in the middle of an artwork zone can destroy the composition. A fixture near a corner can look fine from the side wall but awkward when viewed straight down the hall.
Use the complete fixture body—not only the junction-box center—as the clearance object. Mark the shade, arms, and projection. Then check the door swing, frame width, art dimensions, and the sightline from the adjacent room. If a sconce has to move several inches to respect the architecture, that is usually better than preserving a mathematically perfect interval.
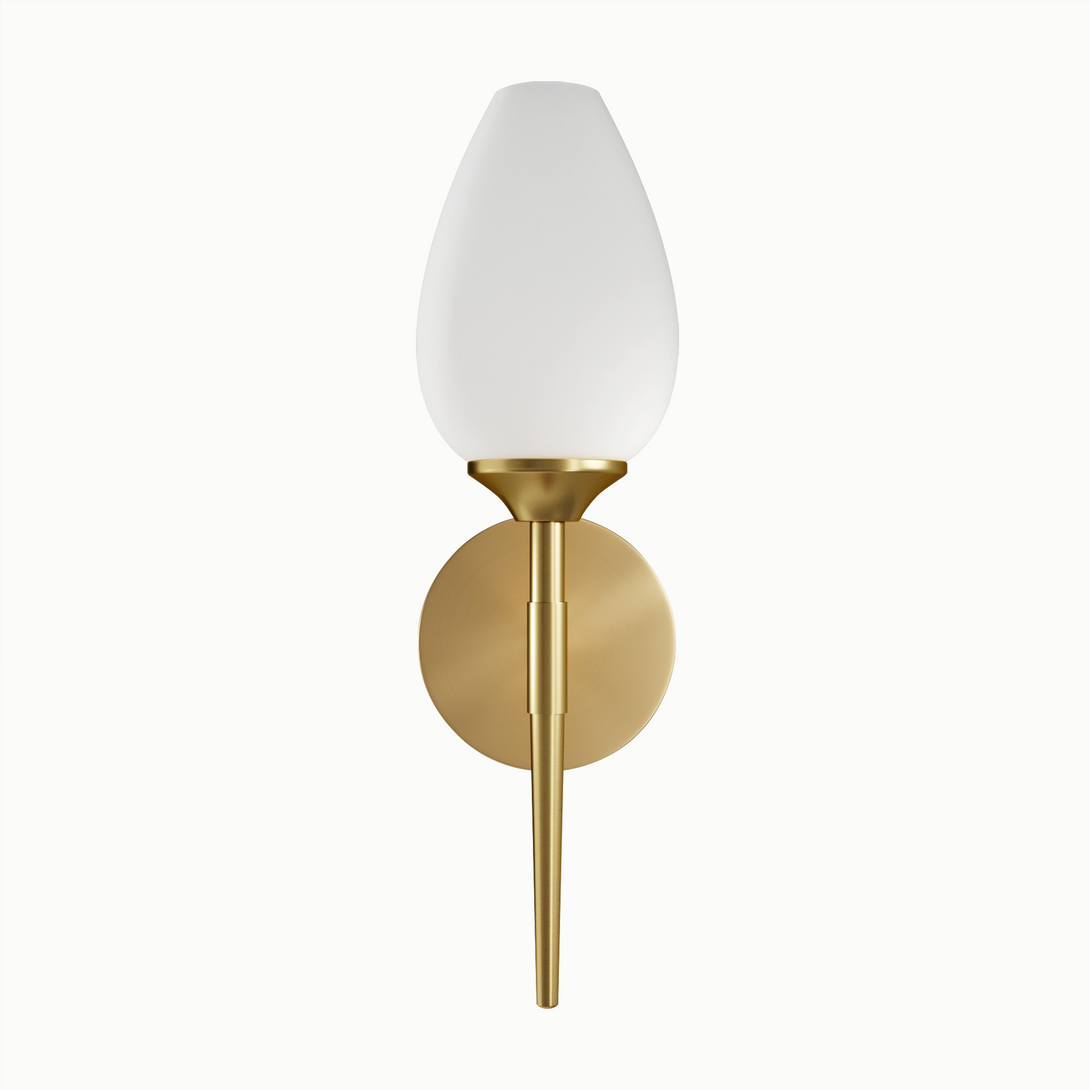
Three common hallway sconce mistakes
Mistake 1: copying a spacing chart without drawing the doors
The number may look neat on paper, but the fixtures end up crowded beside trim, switches, or openings. The result feels like the lights were added after the hallway was designed rather than integrated with it.
Mistake 2: choosing by front view and ignoring projection
A deep fixture can reduce comfortable clearance in a narrow passage. This is especially important for sculptural sconces with globes, arms, or layered glass that extend well beyond the backplate.
Mistake 3: assuming decorative sconces will light the entire corridor
A beautiful repeated sequence can still leave the floor dim if the fixtures have limited downward or outward spread. If the wall lights are expected to provide general lighting, the exact product performance needs to be checked rather than guessed from appearance.
What to check before ordering from WREA
WREA's current Wall Sconce collection includes fixtures positioned for hallways, bedside areas, vanity zones, and layered wall lighting. Before choosing a hallway piece, compare the exact product's overall width, height, projection, shade material, source information, and any listed installation requirements. Do not transfer specifications from one wall sconce to another just because the silhouettes look similar.
If you want a second opinion on scale, send WREA a straight-on hallway photo, a view from each end, corridor length and width, ceiling height, each usable wall-section length, door locations, existing electrical-point positions, and the product link you are considering. Use the Contact page for room and product questions.
FAQ
How far apart should hallway wall sconces be?
There is no single spacing that works for every hallway. Online guides commonly publish rough ranges, but the final distance should respond to usable wall sections, fixture width and projection, doors, artwork, mounting height, and the fixture's actual light distribution.
Should hallway sconces be evenly spaced?
Even spacing can look strong on a long uninterrupted wall, but it should not be forced through doors, corners, and openings. In many homes, architectural alignment produces a better result than strict mathematical repetition.
How high should hallway sconces be mounted?
Use a consistent visual line as the starting point, then adjust for ceiling height, door proportions, fixture height, and where the visible light source sits. Mock up the full fixture silhouette before the electrical position is finalized.
Can wall sconces be the only lights in a hallway?
Sometimes, but that cannot be assumed from appearance alone. If sconces are expected to provide primary circulation lighting, review the exact fixture's output and distribution and confirm the plan against the space and applicable requirements.
Should sconces go on both sides of a hallway?
Not necessarily. One clean side can create a stronger rhythm when the opposite wall is broken by doors or openings. Use both sides only when the architecture supports it and the projection does not interfere with circulation.
How do I plan sconces around hallway doors?
Mark every door casing and swing, then place the full fixture outline—not just the backplate center—on the wall. Move the light if necessary to give the doorway visual breathing room and safe clearance.
Plan the hallway before you order the lights
Browse WREA wall sconces, then compare the exact fixture dimensions with your usable wall sections. If the rhythm still feels uncertain, send the hallway measurements and product link for a room-specific review before ordering.
Explore Wall SconcesFollow WREA
Lighting ideas, room planning references, material details, and new releases.


